System Settings
The Settings menu serves as the application's configuration hub. It allows operators and managers to adapt the application's behavior to the specific needs of the point of sale, without requiring technical team intervention for common modifications.
The interface provides quick access to two major types of functionality:
- Visual Customization: Options for operator comfort, such as theme switching (day/night mode), display language, or product layout preferences
- Technical Configuration: Essential tools for connecting peripheral equipment (receipt printers, electronic scales), synchronizing data with the central server, and managing the work mode
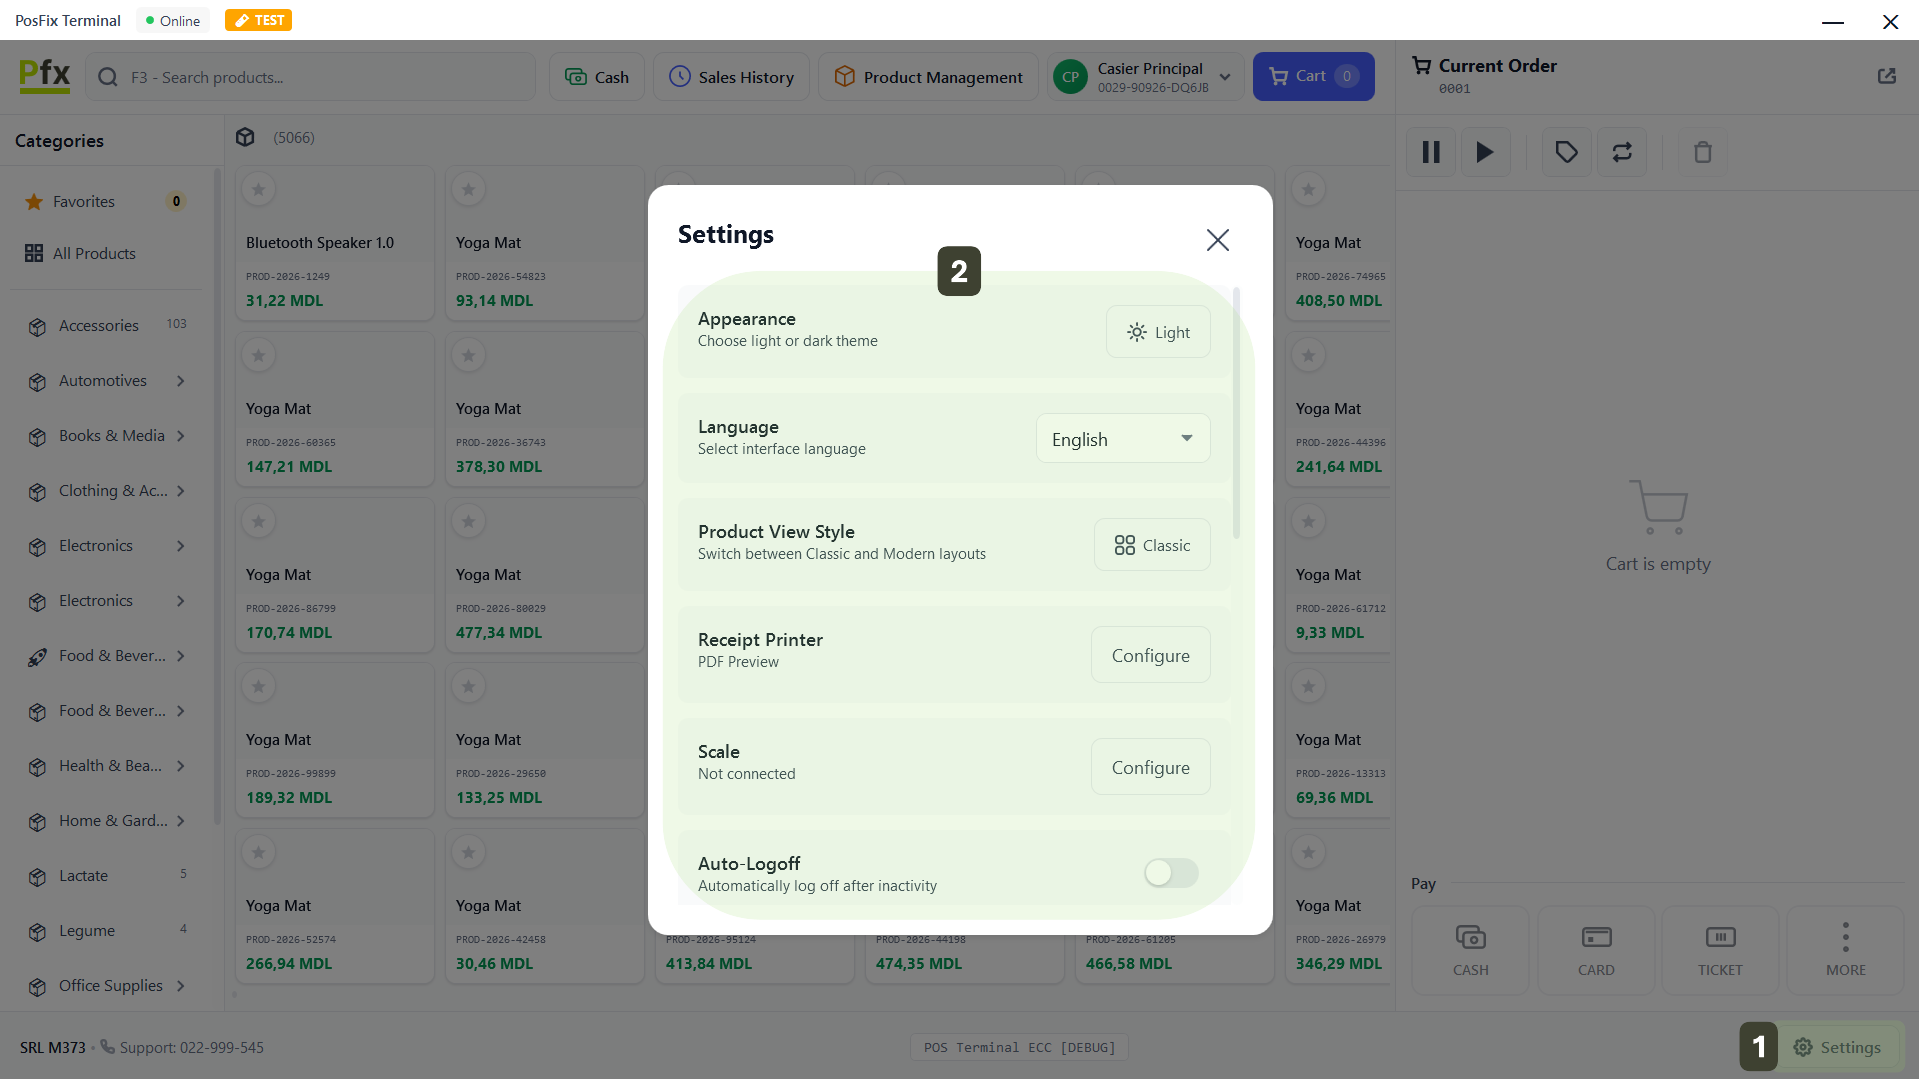
Accessing the Settings Menu
To modify the application configuration or connect new hardware, you must open the administrative panel.
- On the main sales screen, in the Footer Bar, press the Settings button
- A window will open, displaying the full list of available configuration options
Changes made here apply only at the local level, not to the entire store network.
Certain settings require Manager rights to modify.
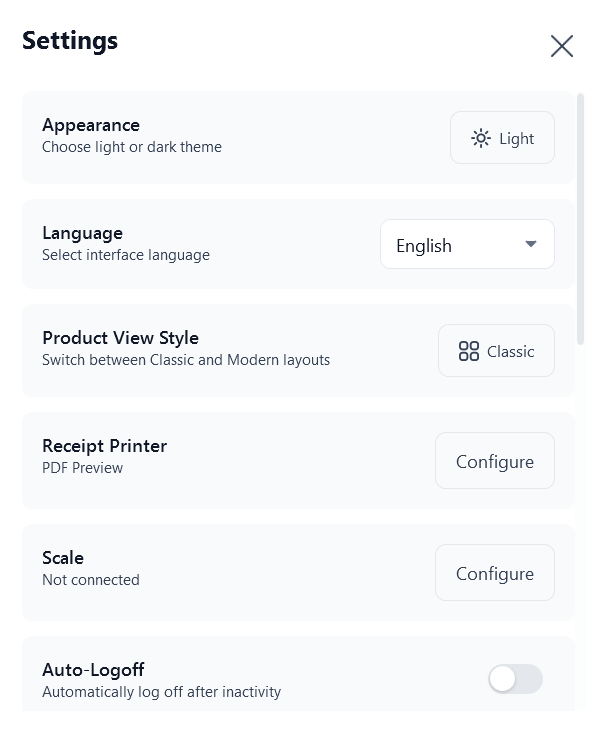
Appearance
This setting allows you to change the color palette of the entire application to protect the operator's vision depending on the ambient light in the location. Next to the Appearance section, you will find a button indicating the current mode. Press this button to instantly switch between the two modes:
☀️ Light (Day Mode): Interface with white background and black text.
Ideal for supermarkets, stores with large windows, and brightly lit environments.
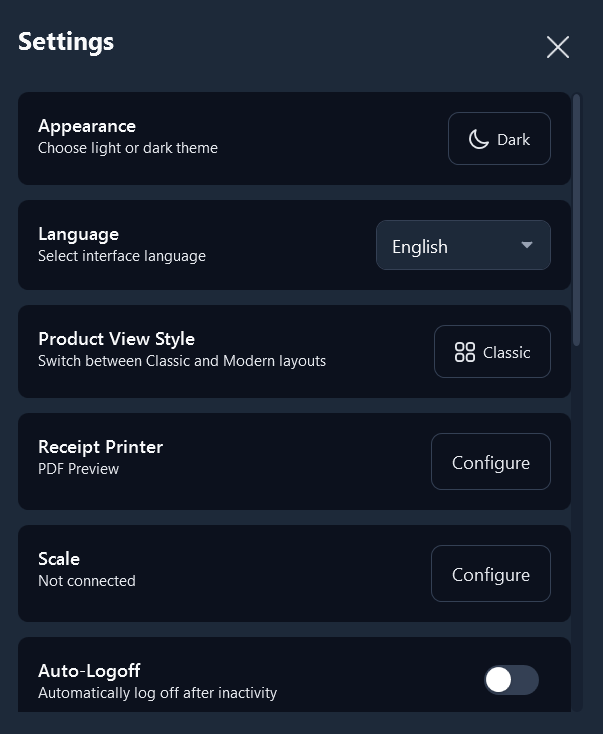
🌙 Dark (Night Mode): Interface with dark background (black/gray) and white text.
Ideal for restaurants, bars, cafes, or evening shifts to reduce eye strain.
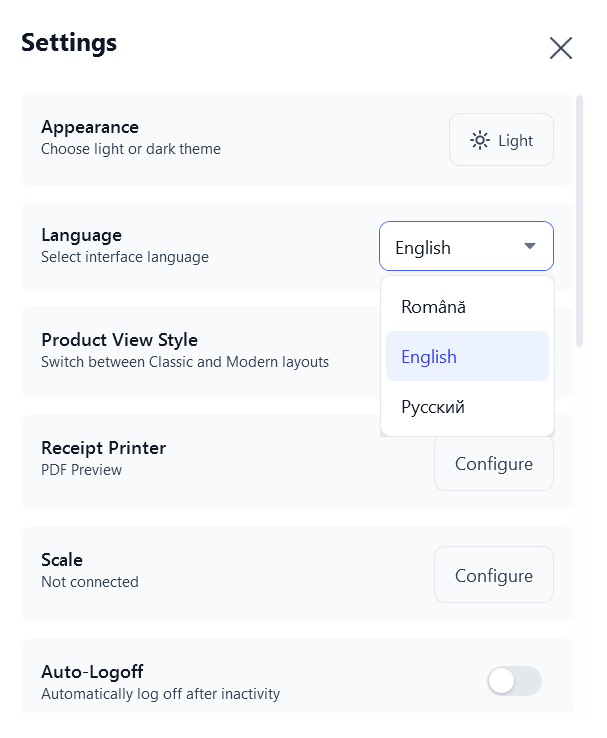
Language (Interface Language Selection)
This setting allows adapting the application texts to be easily used by speakers of different languages. Press the box on the right (where the current language is indicated, e.g.: English). A dropdown list of available languages will appear. Choose one of the supported options:
- Română (Romanian - Default)
- English
- Русский (Russian)
Once selected, the interface will automatically update to the chosen language. If you do not notice the change, exit the app and restart it.
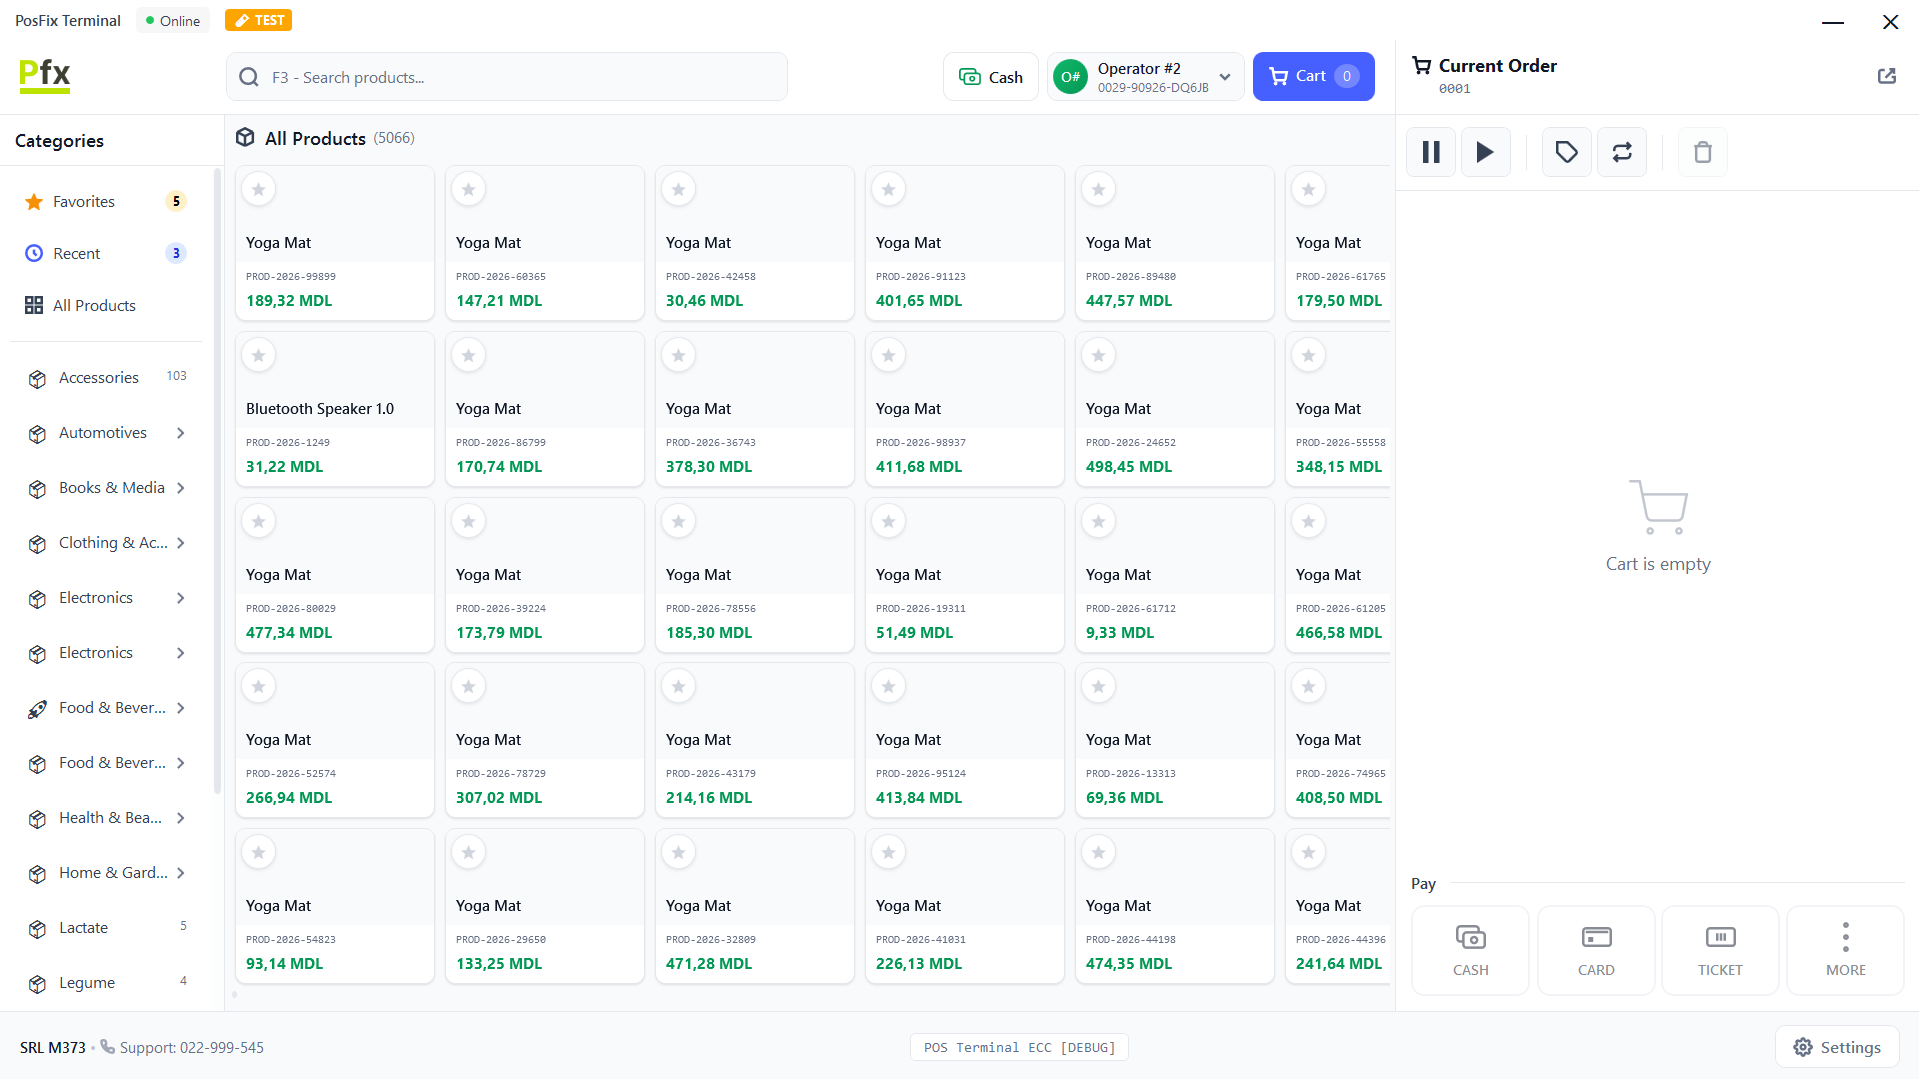
Product View Style (Layout Mode)
This setting modifies the sales screen structure, changing where product categories and subcategories are displayed, to match the cashier's workflow. Press the button on the right to switch between the two display modes:
Classic
Side Menu Left - Categories are displayed only in the left column of the screen, providing more vertical space for the product list.
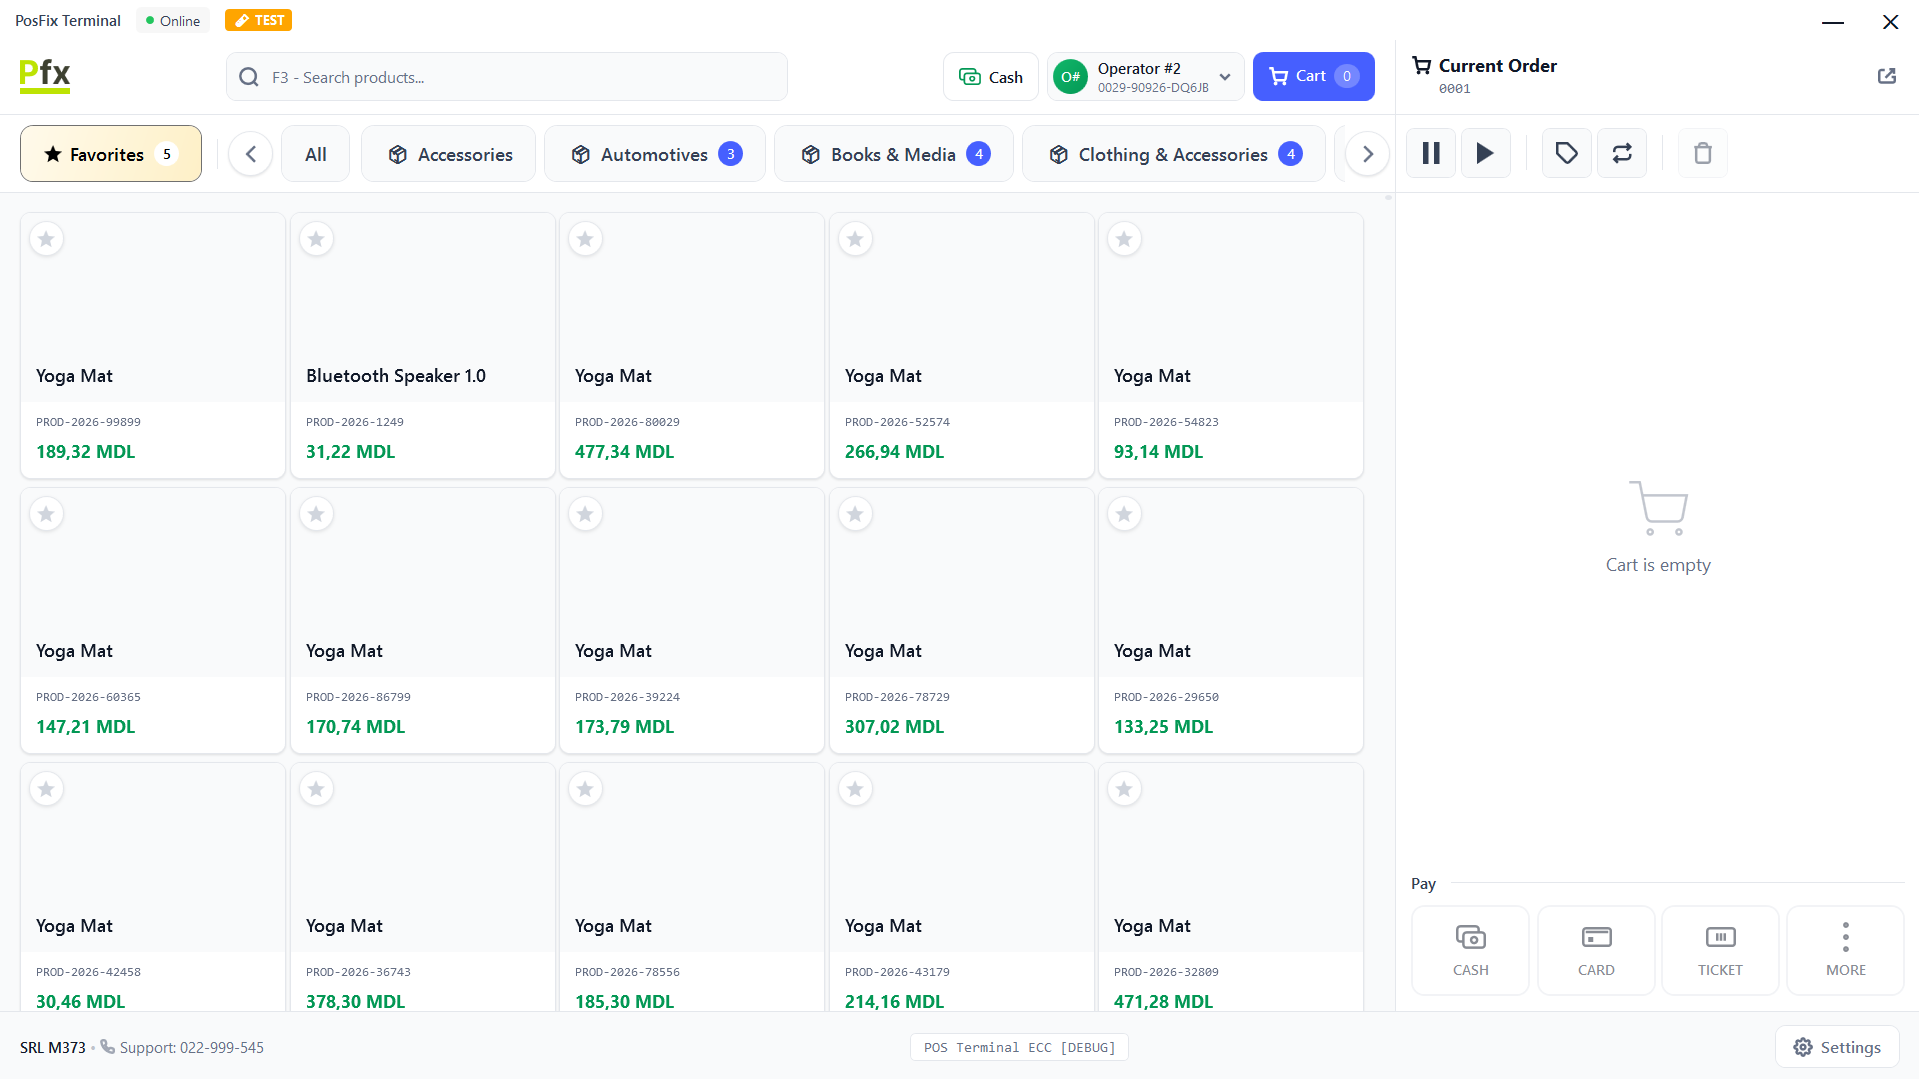
Modern
Top Menu Horizontal - Main categories appear as buttons at the top of the product grid, ideal for operators accustomed to "tab-style" interfaces.
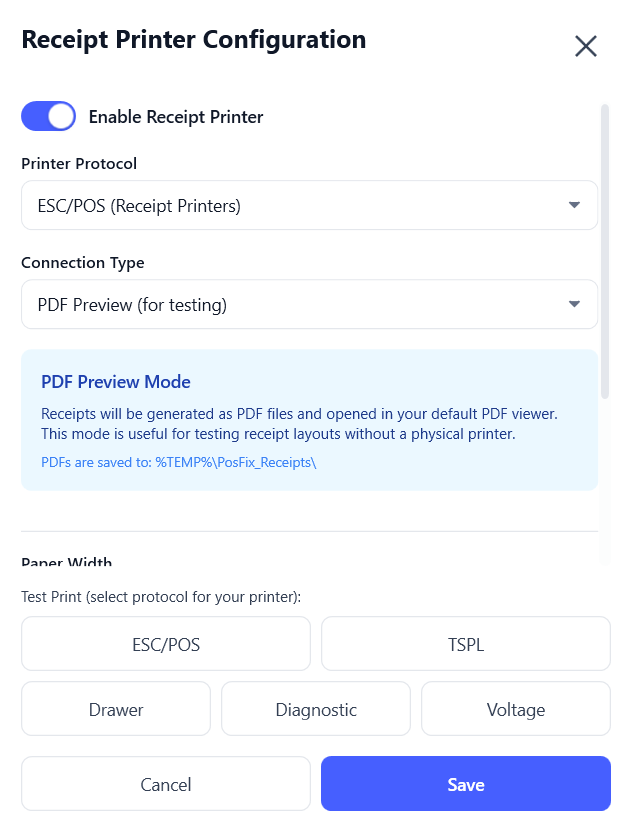
Receipt Printer
This section allows you to connect a physical thermal printer and define the automatic behavior of the cash register (paper cutting, drawer opening).
Accessing Configuration
In the main Settings menu, press the Configure button next to the Receipt Printer option. Make sure the first switch Enable Receipt Printer is Enabled
Supported Protocols
ESC/POS - For thermal receipts:
- Compatible with most printers
- Supports text, barcodes, QR
- Romanian diacritics (ă, â, î, ș, ț)
TSPL - For labels:
- TSC label printers
- Customizable formats
- Various barcodes
Connection Types
| Type | Description | Usage |
|---|---|---|
| USB | Direct USB connection | Local printers |
| Network | IP/Port connection | Shared printers |
| Bluetooth | Wireless connection | Mobile printers |
| Serial | COM Port | Legacy equipment |
USB Printer Configuration
- Select Connection type: USB
- Choose the printer from the device list
- Set the paper width (58mm / 80mm)
- Press Test Print to verify
Network Printer Configuration
- Select Connection type: Network
- Enter the printer's IP Address
- Enter the Port (default: 9100)
- Press Test Connection
Advanced Printer Settings
| Setting | Description | Default Value |
|---|---|---|
| Paper width | 58mm or 80mm | 80mm |
| Characters per line | Depends on width | 48 (80mm) |
| Font Size | Text size | Normal |
| Auto-print receipt after sale | Print mode | Enabled/Disabled |
| Cut Mode | Cutting mode | Partial Cut |
| Cash Drawer | Opens drawer | After print |
Cash Drawer
Connections
The cash drawer connects via:
- RJ11 - 4-wire telephone cable
- RJ12 - 6-wire telephone cable
The cash drawer connects to the dedicated port on the thermal printer.
Testing
The test function verifies:
- ESC/POS - Sends a short test receipt to verify text printing
- Drawer - Tests only the cash drawer opening (without printing)
- Diagnostic / Voltage - For advanced technical checks
Not all printers support cash drawers. Check compatibility before purchase.